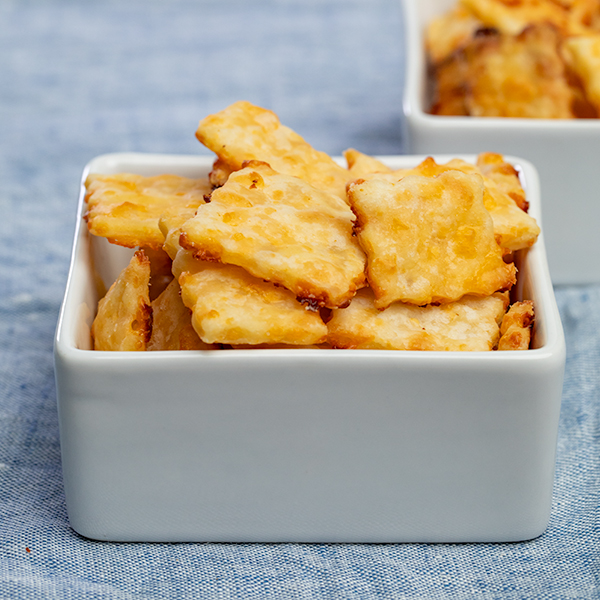
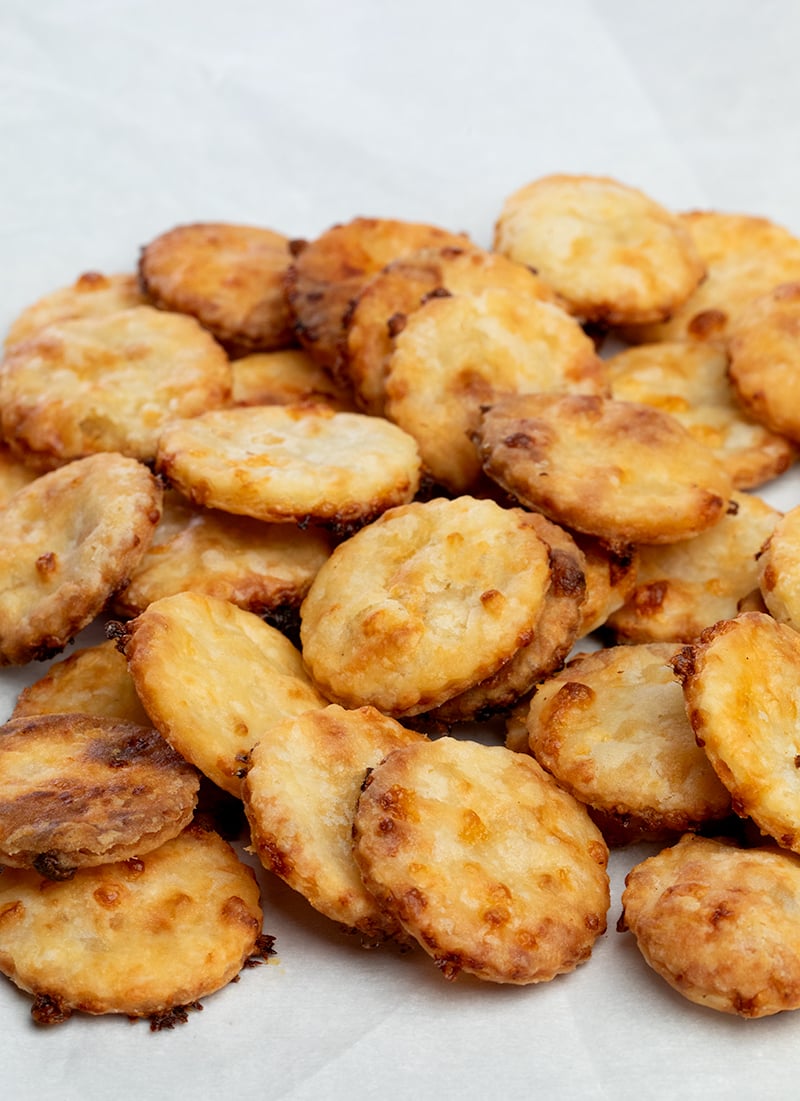
These gluten free cheese crackers only have 5 simple ingredients, and makes a bunch of crispy, crunchy, cheesy crackers quickly and easily.
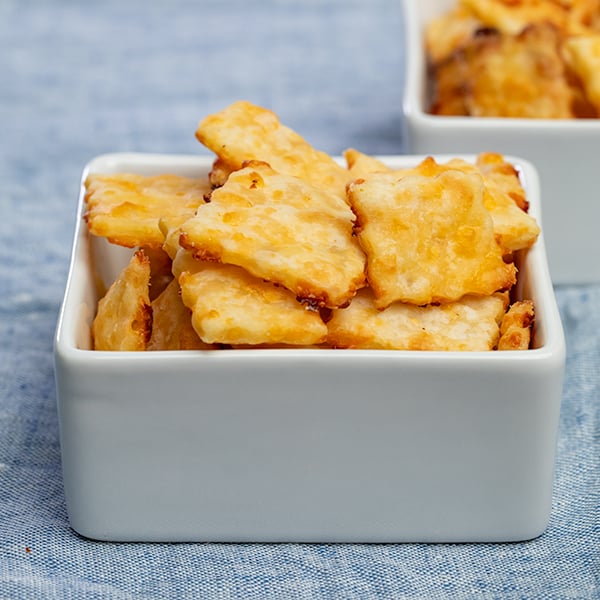
This super easy gluten free cheese crackers recipe will satisfy your craving for crunchy, cheesy snacks. They’re just as crispy, salty, and satisfying as the “real” thing, and they’re much more satisfying than expensive store-bought gluten free cheese crackers.
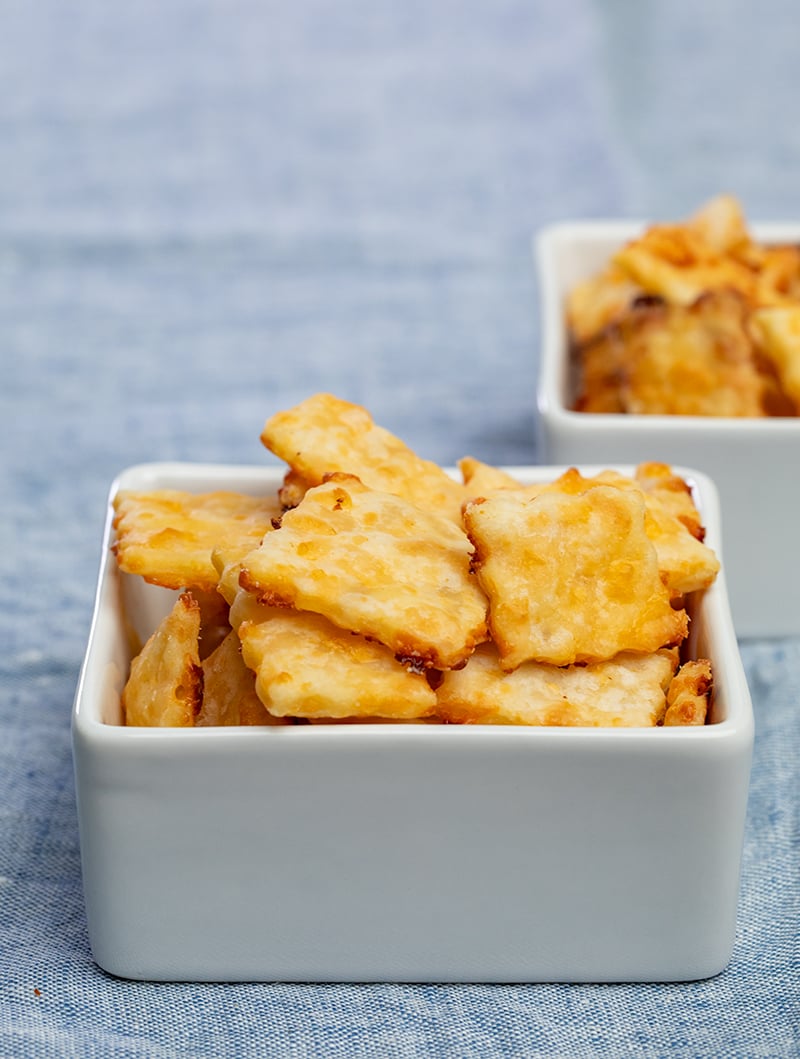
What makes this gluten free cheese crackers recipe special
These crackers are super-simple, seductively elegant, inexpensive to make, and very versatile. The dough is really just flour tossed with shredded cold butter and shredded cheddar cheese, brought together with some milk, rolled out, sliced, and baked.
Avoid making ingredient substitutions if at all possible, especially in such a simple recipe, and keep your ingredients cold and you will love the results. Since the cheese is only shredded, not processed until it’s integrated into the butter and flour, your crackers won’t have a fully uniform color so they’ll look rustic.
Sometimes, I make them in rounds, but more often I roll out the dough and cut the whole thing into squares using a pastry or pizza wheel.
Cut the dough into square, and they resemble gluten free Cheez Its. When you slice the dough into squares, there are no gaps between crackers so there aren’t any scraps to gather and reroll. But, of course, you can always cut out rounds and then work with the scraps again.
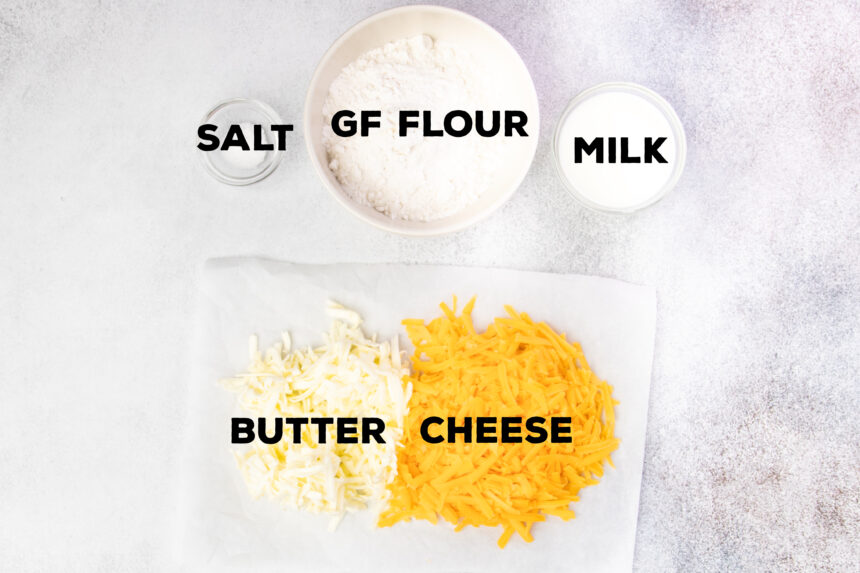
Gluten free cheese crackers ingredients
- Gluten-free flour blend – my preferred gluten free flour blend is Better Batter, but you can experiment with other brands of gf all-purpose blends
- Xanthan gum – you can skip this if your gluten free flour blend already contains it
- Salt – really complements and brings out the rich flavor of the cheese
- Butter – it’s important to dice the butter and keep it cold so your dough is easier to handle
- Cheese – I prefer to use cheddar, but you can try other varieties so long as you make sure it’s finely grated so it’s easier to mix
- Milk – I use cow’s milk, but you can try any kind that has at least some fat in it
How to make gluten free cheese crackers
Making the cracker dough
This is a really simple cracker dough made in a single bowl. There’s no food processor, pastry cutter, or other special tools to worry about.
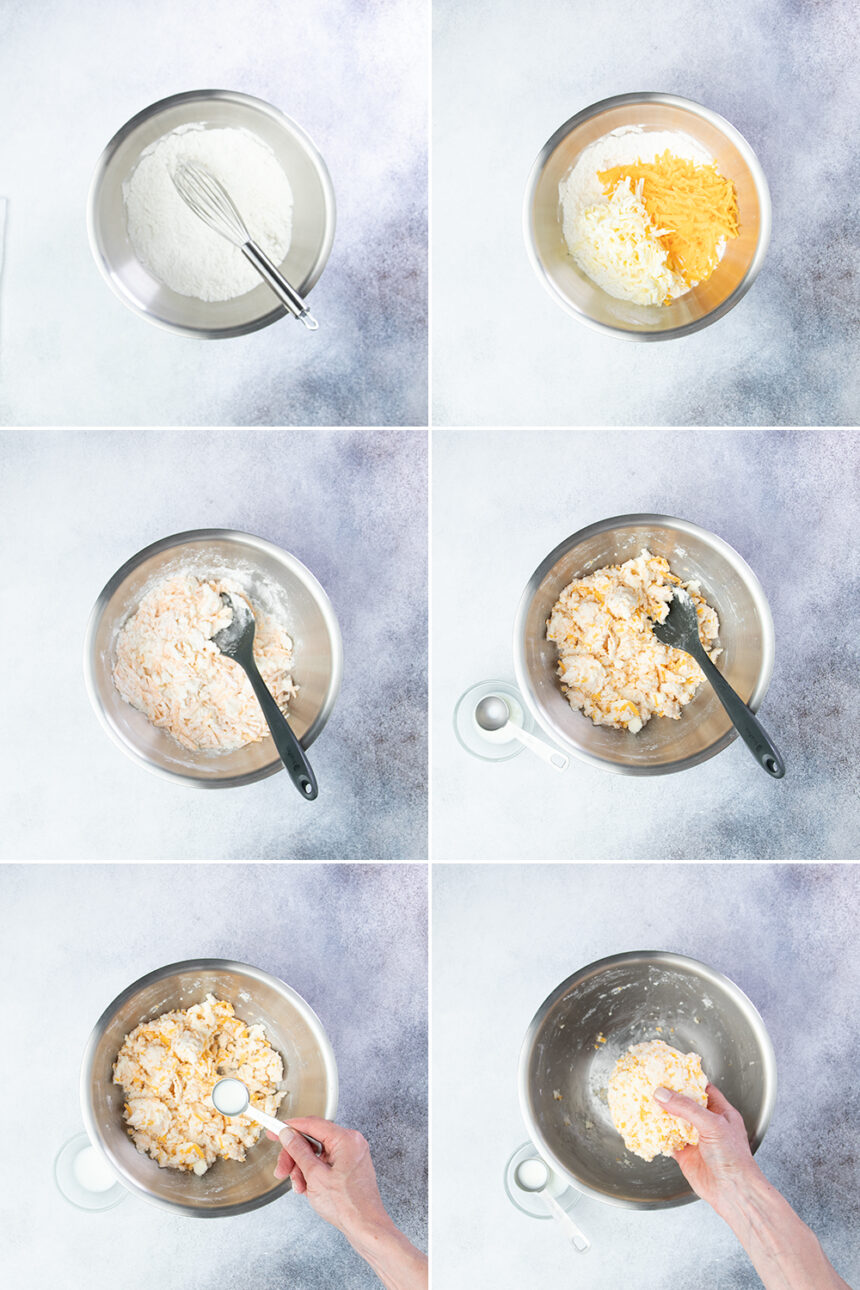
- Place the gluten free flour blend (including xanthan gum) and salt together and whisk to combine.
- Add grated and chilled butter and cheddar cheese, and toss to coat them in the flour. Break up any big clumps.
- Add milk, and mix to combine; add more milk only as needed to bring everything together into a disk of dough that holds together.
- Chill the cracker dough for at least an hour so that it holds together well and bakes up crispy.
Shaping and baking the cracker dough
After the dough has chilled, all that’s left is to roll it out, cut out shapes, and bake it cold.
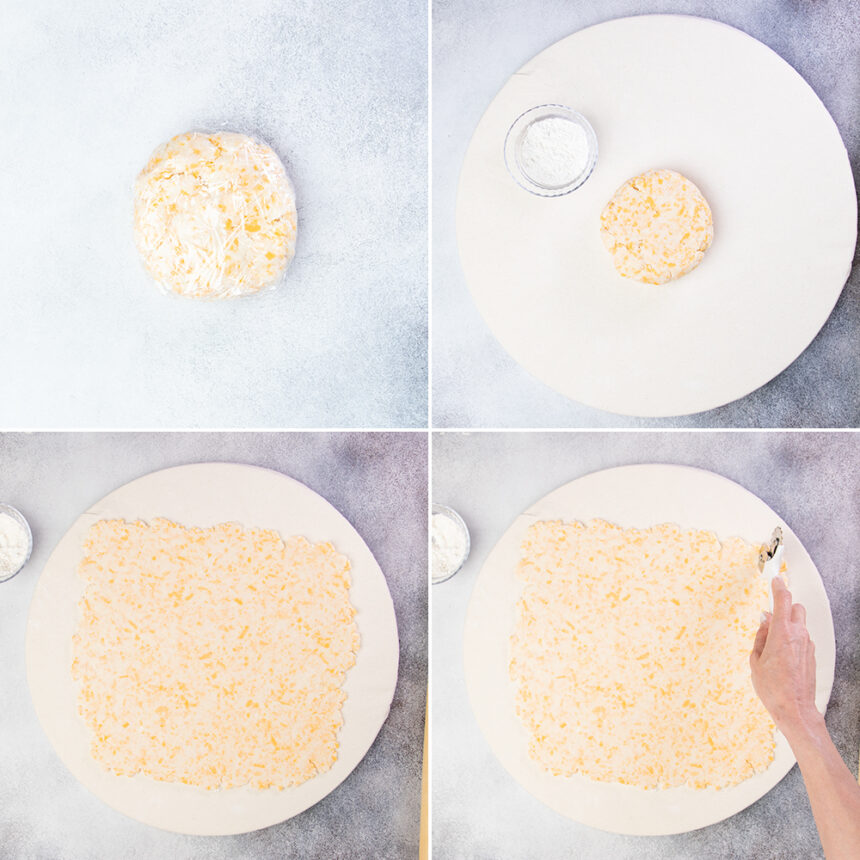
- Unwrap the chilled dough, and roll it on a flat surface sprinkled with extra gluten free flour. Keep the dough moving as you roll it out, so it doesn’t stick. To make things easier, try using a pastry board.
- After you’ve rolled the dough out smoothly, it should be about 1/8-inch thick and not sticky to the touch.
- Trim the rough edges.
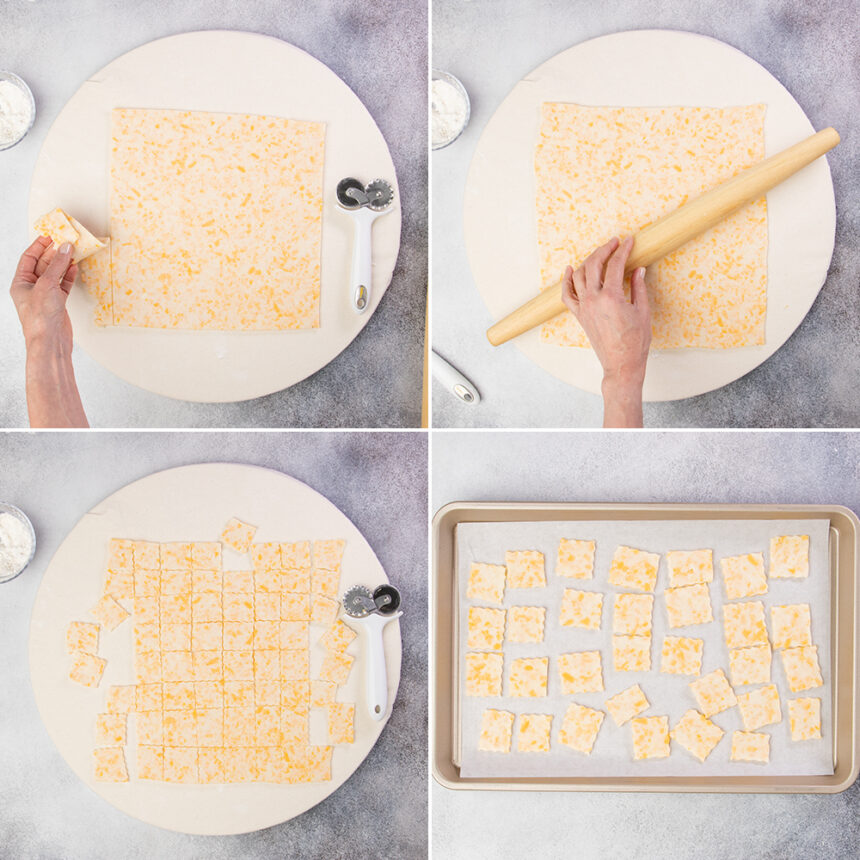
- You can bake the rough edges as they are, or gather and reroll them together.
- You can use a small round (or square) cookie cutter to make shapes, but I really prefer to use a pastry wheel, pizza cutter, or sharp knife to cut the rolled-out dough into squares.
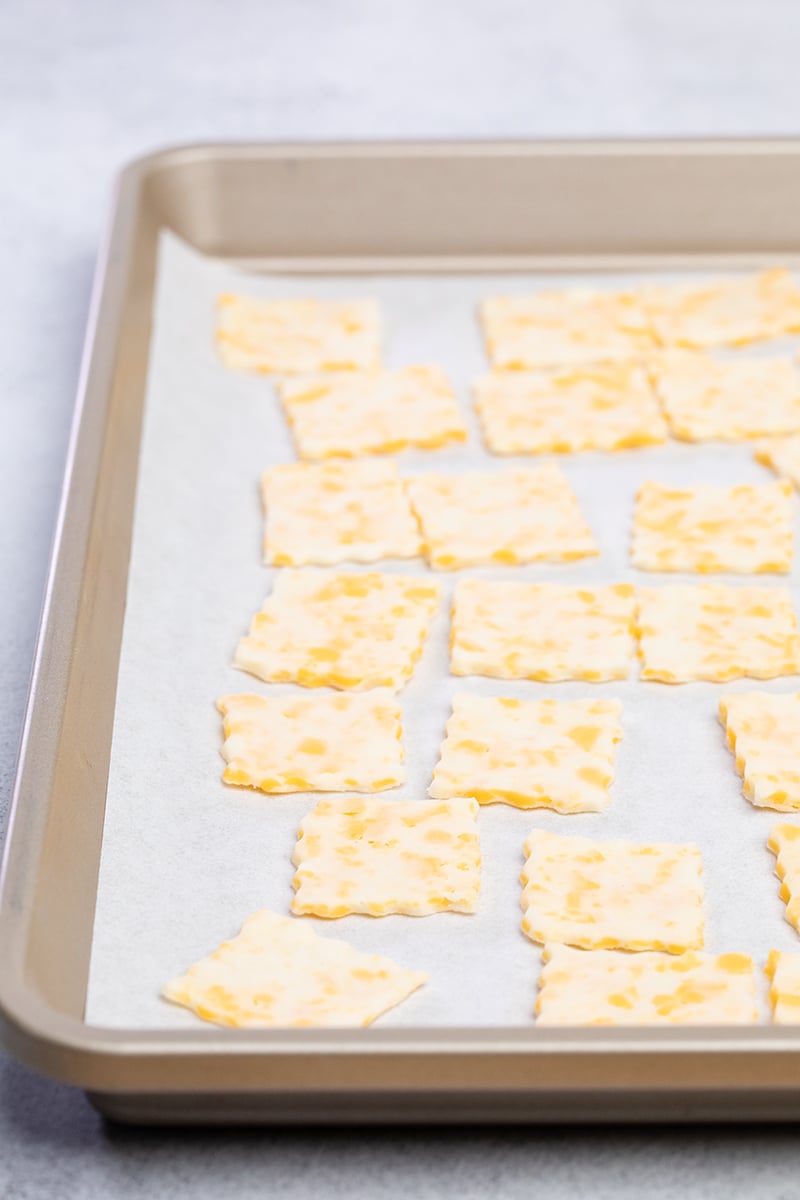
- Place the squares on a lined baking sheet, and bake at 325°F until they’re lightly golden brown all over. It usually takes about 15 minutes, and it helps to rotate the baking sheet once during baking.
Tips and tricks for making the perfect crackers
Choosing your cheese
This gluten free cracker recipe can be pretty versatile — while the consistency of the crunchy crackers will stay the same, the flavor can change depending on the cheese you use.
Personally, I like to make gluten free cheddar crackers by using sharp cheddar cheese. I find sharp cheese has the biggest, boldest flavor and really makes these crisps taste a lot like our gluten free Goldfish crackers, but easier.
If you think the flavor of sharp cheddar cheese is too strong, try white cheddar cheese. It’s milder, but still really flavorful. Or try Monterey Jack cheese, Gruyère, or Havarti. You can even try a blend of different cheeses.
I really recommend you hand-shred or grate your cheese on a handheld coarse grater, so you aren’t adding any additional unwanted ingredients to the cracker dough. If you choose to use pre-shredded cheese, it also contains drying and anti-caking ingredients that will make the dough dryer.
I’ve made this recipe with pre-shredded cheese. and it still works, but you’ll need to add a bit more milk to bring the dough together and your crackers will have slightly less flavor and a less crispy texture.
Mixing your gluten free cheese crackers
The secret to creating crunchy crackers is to make sure your butter doesn’t melt while you’re preparing the dough. As long as it stays solid during preparation, it will melt between layers of dough during baking like it does in gluten free biscuits and other pastry, resulting in deliciously crispy layers.
Cutting your gf cheese crackers
There are plenty of options for cutting or shaping your dough to make fun, elegant, or simply practical crackers. If you’re aiming for your own version of gluten free Cheez Its, use a pastry wheel or pizza cutter to cut your dough into squares. For that wavy edge, use what’s called a fluted pastry wheel.
If you prefer round crackers, use a cookie cutter to achieve the perfect shape. If you have more small shaped cookie cutters like hearts or triangles, try using those. It may be more difficult to get very pointy shapes like stars to hold their points during baking.
How to store your gluten free cheese crackers
I tend to make a batch of these crackers raw, and then shape and bake only one half of the dough one day, and then shape and bake the rest in another day or two. That way, we have a few days of fresher crackers and fewer leftovers.
When I do have leftover crackers, I store them airtight glass container on the kitchen counter. If the air in your kitchen is controlled and isn’t humid, they remain crispy for about 5 days, but I find that they are their crispiest within the first 3 days.
If you somehow make more than your family can eat in a few days, unfortunately, you can’t toss them in the freezer for later. The freezing temps simply destroy the consistency of the crackers; they won’t be crispy after you defrost.
Gluten free cheese crackers substitutions
Gluten free, dairy free cheese crackers
As the name suggests, dairy is very important to this gluten free cheese crackers recipe. The recipe calls for dairy in the form of butter, cheese, and milk, and while I haven’t tried these dairy-free substitutions myself, I think they’re worth trying.
In place of butter, try vegan butter like Melt or Miyoko’s Kitchen brand. Olive oil or another liquid fat won’t work because you need a solid structure to work into the flour.
In place of sharp cheddar cheese, try Violife brand dairy-free cheese. Be sure to buy the type that comes in a block and shred it yourself, or your crackers may be too dry.
Last, in place of the milk, you can try any unsweetened dairy-free variety that has a bit of fat in it and has a similar consistency to cow’s milk. Unsweetened almond milk is a good choice, but avoid canned coconut milk, which is much thicker and has less moisture.
FAQs
Unfortunately, gluten free Cheez Its don’t exist. The crackers you buy in the store are made with wheat flour, so they’re not safe for those with an intolerance to gluten.
However, this recipe for gluten free cheese crackers is the easiest substitute. If you’re feeling a little adventuresome, you can try our gluten free Ritz crackers copycat recipe.
Preshredded cheese has additives like starch and so-called “anti-caking agents” to prevent the shreds from clumping together. I’ve been able to make these crackers with pre-shredded cheese, but I find that I need more milk to bring the mixture together and the texture and flavor are less than ideal.
I don’t use a food processor to make these cheese crackers, but you can make the dough using a food processor if you’d prefer. You’ll need less moisture to bring them together though if you pulse the dough in a food processor, and your crackers will have a smoother, less crispy texture.
If you didn’t roll your cracker dough thin enough, the crackers won’t get as crispy in the oven. Even if you bake them longer, they won’t get quite as crispy before they begin to burn. If you added too much milk to the cracker dough, they also won’t get quite as crispy since the moisture won’t fully bake off, leaving you with soggy crackers.
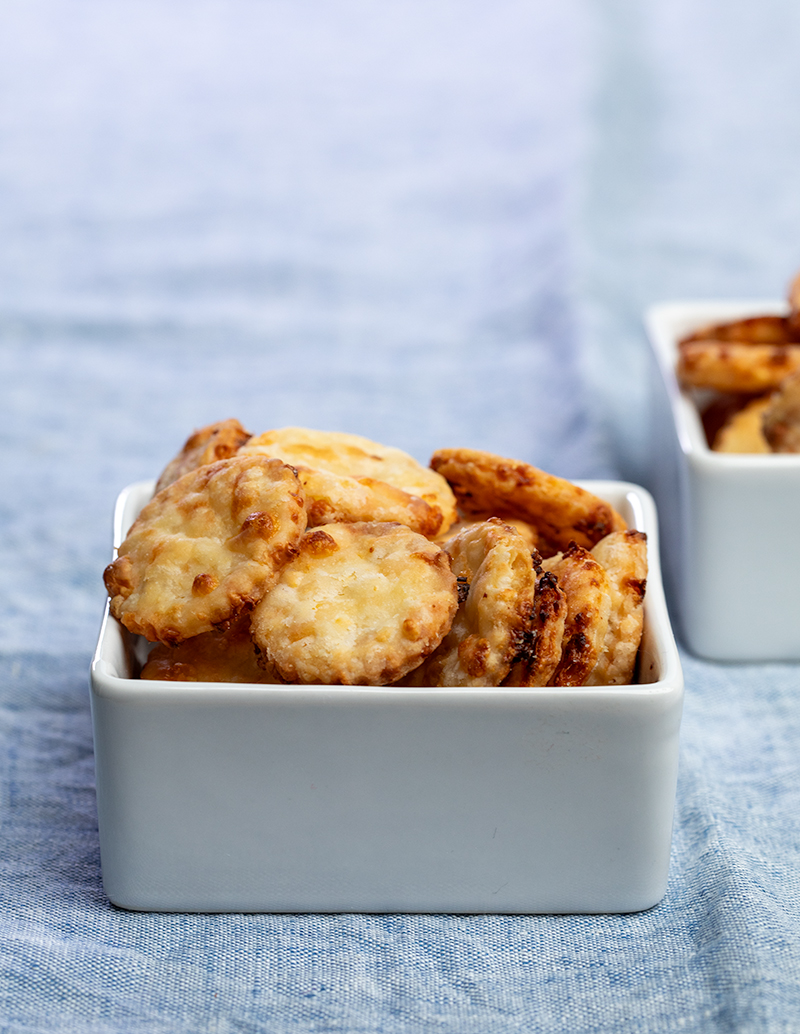
If you bake these crackers a bit too long, they will darken in color and will not look as pretty. As long as they’re not burned, though, they will still taste great. Since the cheese is shredded, and not processed, it will poke out of the crackers and bake into little dark brown edges. That’s the best part!
How to make the simplest gluten free cheese crackers, step by step
Simple Gluten Free Cheese Crackers
These gluten free cheese crackers only have 5 simple ingredients, and makes a bunch of crispy, crunchy, cheesy crackers quickly and easily.
Yield: 100 crackers
Prevent your screen from going dark
Ingredients
- 1 cup (140 g) all purpose gluten free flour blend (I used Better Batter’s classic blend; click thru for full info on appropriate blends), plus more for sprinkling
- ½ teaspoon xanthan gum (omit if your flour blend already contains it)
- ¾ teaspoon kosher salt
- 6 tablespoons (84 g) unsalted butter chilled and grated on a standard box grater
- 1 cup (4 ounces) cheddar cheese or other semi-hard cheese, grated on a standard box grater
- ¼ cup (2 fluid ounces) milk chilled (plus more as necessary)
Instructions
-
In a medium-sized bowl, place the flour blend, xanthan gum, and salt, and whisk until well combined.
-
Add the shredded butter and shredded cheese, and stir to coat the cheese in the dry ingredients. Using the back of the spoon, break up any large clumps in the shredded butter.
-
Create a well in the center of the mixture and add 1/4 cup milk.
-
Stir to combine and moisten all of the dry ingredients with the milk. The mixture should come together in clumps.
-
Drizzle in more cold milk by the teaspoonful to moisten any dry patches.
-
Using clean, dry hands, squeeze the mixture until the dough comes together into a cohesive ball.
-
Place the dough on a large piece of plastic wrap and wrap it tightly.
-
Place it in the refrigerator for at least an hour, and up to 3 days. The dough should be firm to the touch, but not hard or dry (which won’t happen unless it’s not properly wrapped and hasn’t been allowed to chill for much more than 3 days).
-
Once the dough is chilled and you’re ready to work with it, preheat the oven to 325°F. Line rimmed baking sheets with parchment paper and set them aside.
-
Divide the dough into two roughly equal parts. Work with one at a time, wrapping the other tightly in plastic and keeping it in the refrigerator.
-
Sprinkle a flat surface lightly with gluten free flour, and place the first half of chilled dough on top. Sprinkle it lightly with more flour.
-
Use a rolling pin to roll the dough until it’s about 1/4-inch thick, sprinkling lightly with more flour as you work to prevent sticking. Shift and move the dough frequently, turning it over and sprinkling it with more flour, to prevent it from sticking to the surface or the rolling pin.
-
Fold the dough over on itself in half, then in half again until you have a thick square of dough. Sprinkle it again with more flour, and roll it out again in the same manner, moving, shifting, and turning it over and sprinkling it lightly with more flour, until it’s about 1/8-inch thick.
-
If the butter has begun to melt, making the dough sticky, place the dough in the refrigerator to chill again until firm (about 10 minutes). Roll it out again, turning and shifting it frequently, until you have a 1/8-inch thick rectangle or round.
-
To make square crackers, using a pastry wheel, pizza cutter, or sharp knife, cut the rolled-out dough into pieces approximately 1-inch square (or larger, if you prefer). For a wavy edge, use a fluted pastry wheel. Place the squares about 1/4-inch apart on the prepared baking sheets.
-
To make round crackers, use a round cookie cutter about 1-inch in diameter to cut out rounds of dough, and place them about 1/4-inch apart on the prepared baking sheets. Gather and reroll scraps of dough, and cut out more rounds.
-
Repeat the process with the second piece of raw dough.
-
Place the baking sheets one at a time in the preheated oven and bake, rotating halfway through, for about 15 minutes or until the crackers are lightly golden brown all over. Repeat with any remaining rounds.
-
Allow the crackers to cool on the baking sheet until set. They will crisp as they cool. Store in a tightly sealed glass container to maintain texture.
Notes
Nutrition information is per cracker, which is a very tiny serving size. It’s an estimate only from online calculators, provided as a courtesy, and should not be relied on under any circumstances.
Nutrition
Calories: 16kcal | Carbohydrates: 1g | Protein: 0.3g | Fat: 1g | Saturated Fat: 1g | Polyunsaturated Fat: 0.04g | Monounsaturated Fat: 0.3g | Trans Fat: 0.03g | Cholesterol: 3mg | Sodium: 26mg | Potassium: 2mg | Fiber: 0.1g | Sugar: 0.03g | Vitamin A: 33IU | Calcium: 9mg | Iron: 0.002mg

Thanks for stopping by!
Hi, I’m Nicole. I create gluten free recipes that really work and taste as good as you remember. No more making separate meals when someone is GF, or buying packaged foods that aren’t good enough to justify the price. At Gluten Free on a Shoestring, “good, for gluten free” just isn’t good enough!
